How To Properly Use a Percussion Hammer To Test Reflexes
Reflex tests are a crucial part of examining neurological health; as such, evaluating reflexes with a percussion hammer is a straightforward yet necessary step in assessing the health of the nervous system. Unfortunately, using a hammer to test reflexes is far from a precise art. With so many unknown variables, such as the strength of the hammer swing or the intensity of the contraction, interpreting the test results can be difficult.
Doctors must master the process of testing reflexes to achieve results that are as accurate and helpful as possible. Testing reflexes requires much more than the hammer itself, though. Read on to learn more about the history of the percussion hammer, different types of hammers and tests, and how to properly use a percussion hammer to test reflexes.
The Importance of Testing Reflexes
A reflex is an involuntary and instinctive response to stimuli. Reflexes occur instantly by passing through nerves and neurons. Receptor neurons sense a stimulus—such as heat, light, or noise—and send that information along to sensory neurons. Sensory neurons pass the message to the spinal cord, where relay neurons connect to motor neurons. Motor neurons then cause the affected part of the body to respond, creating an observable reflex. Normal reflexes indicate a healthy and functioning nervous system, where the nerves and neurons work together.
Percussion hammers allow doctors to test deep tendon reflexes, which are the contraction and subsequent relaxation of a group of muscles. Testing deep tendon reflexes is a key part of evaluating neuromuscular health.
What Is a Percussion Hammer?
The study of reflexes, nerves, and how they relate to the rest of the nervous system dates back centuries. Deep tendon reflex testing began in the late 1800s when physicians Wilhelm Heinrich Erb and Karl Friedrich Otto Westphal suggested that one could activate a reflex by striking the appropriate tendon. Erb took this idea a step further by recommending the use of a percussion hammer to strike the tendon.
Back then, doctors used percussion hammers to diagnose the chest. By lightly tapping (or percussing) the chest, doctors could assess the texture and density of organs. Percussion hammers became a popular examination method, so medical examiners began using these instruments in other applications—including testing reflexes on and around the tendons.
Over the years, various medical professionals have developed different iterations of the percussion hammer, which we’ll look more into below. However, all of these designs still resemble the original percussion hammer, both in how they look and how you use them.
The Right Hammer for the Job
Deep tendon reflex testing is a straightforward process: strike the tendon and observe the reflex. As such, percussion hammers are fairly simple tools. However, there are a few variations of the percussion reflex hammer that medical professionals can use. Doctors might use different hammers based on where they live, the specific tendon they’re testing, or their preference.
Taylor Hammer
The Taylor reflex hammer is the most common percussion hammer among physicians in the United States. It features a classic design with a small, triangular rubber head and a flat metal handle. The Taylor hammer is a lightweight tool, especially when compared to heftier reflex hammers used in Europe.
Queen Square Hammer
Don’t let the name of the Queen Square hammer confuse you; the head of this tool is round. The Queen Square reflex hammer gets its name from the hospital that designed it: the National Hospital for Neurology and Neurosurgery in Queen Square, London. This hammer features a round metal head with an outer layer of plastic. The plastic handle tapers to a point to allow doctors to test the plantar reflex. The Queen Square hammer is a preferred tool for professionals throughout the United Kingdom.
Babinski Hammer
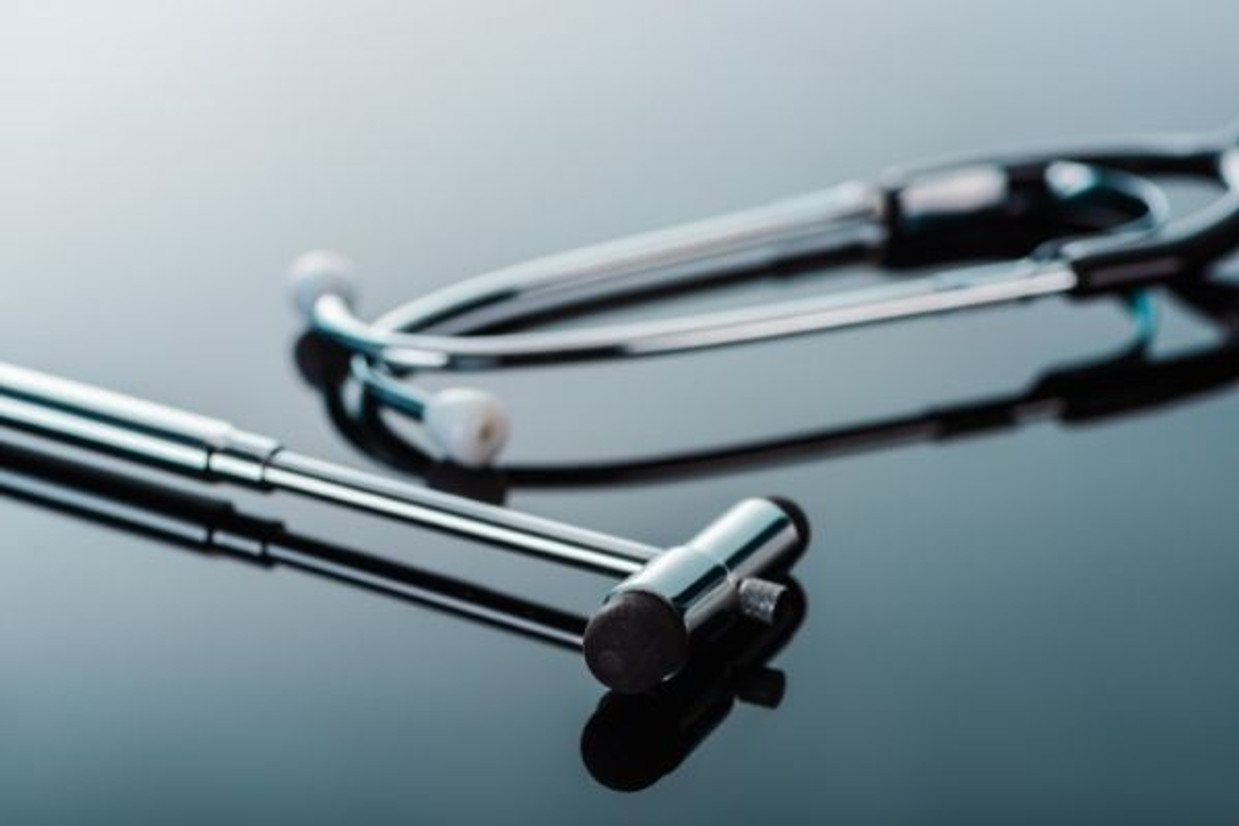
The Babinski reflex hammer is similar to the Queen Square hammer. Both feature a round metal head with a plastic border. However, the Babinski hammer has a metal handle that telescopes and detaches, making storage easy. This is particularly useful as part of a portable diagnostic kit or other on-the-go sets for medical professionals.
Trömner Hammer
The Trömner reflex hammer features a two-headed mallet consisting of a large and small rubber head. Doctors can use the larger head to test the reflexes of larger tendons, such as the Achilles or triceps. Meanwhile, the smaller head works well for smaller tendons, like the biceps.
Berliner Hammer
Berliner reflex hammers look somewhat like a hatchet. The hammer head consists of a rubber semi-circle, which attaches to the handle at a 90-degree angle. The handle is metal with a tapered grip that allows doctors to test skin reflexes. The Berliner hammer’s larger head offers greater weight and a broader striking surface for doctors.
How To Use a Percussion Hammer
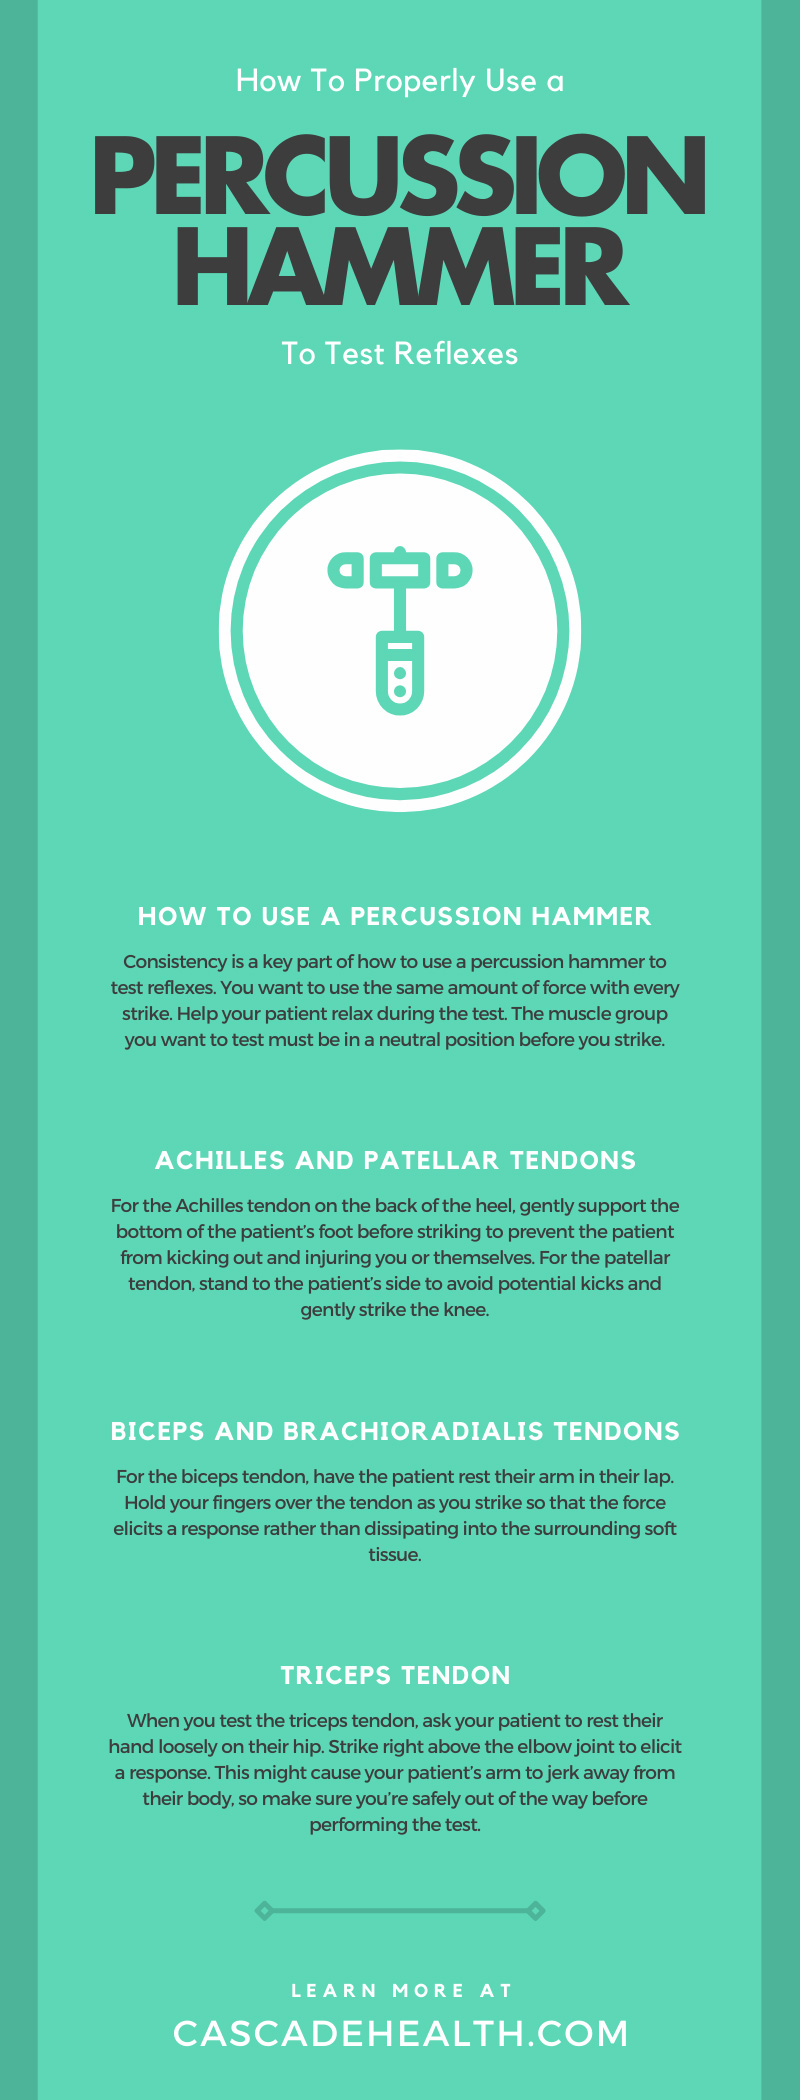
Consistency is a key part of how to use a percussion hammer to test reflexes. You want to use the same amount of force with every strike. Consistency helps you reproduce results for more accurate testing. When you strike the tendon, you must use enough force to elicit a response. However, you don’t want to use too much force and cause the patient pain.
Help your patient relax during the test. The muscle group you want to test must be in a neutral position before you strike. If the patient stretches or contracts their muscles, you won’t elicit a proper response.
Finally, repeat each test five to ten times so that you can find a standard force and point of contact, witness any reflex changes during the test, and confirm that the response is repetitive and accurate.
Testing Different Reflexes
Doctors test many different muscle groups with the percussion hammer, requiring slightly different procedures for each location.
Achilles and Patellar Tendons
When testing the Achilles and patellar tendons, have the patient rest their leg over the edge of the examination table. For the Achilles tendon on the back of the heel, gently support the bottom of the patient’s foot before striking to prevent the patient from kicking out and injuring you or themselves. For the patellar tendon, stand to the patient’s side to avoid potential kicks and gently strike the knee.
Biceps and Brachioradialis Tendons
For the biceps tendon, have the patient rest their arm in their lap. Hold your fingers over the tendon as you strike so that the force elicits a response rather than dissipating into the surrounding soft tissue. If you’re testing the brachioradialis tendon, strike the forearm at approximately 10 centimeters above the wrist.
Triceps Tendon
When you test the triceps tendon, ask your patient to rest their hand loosely on their hip. Strike right above the elbow joint to elicit a response. This might cause your patient’s arm to jerk away from their body, so make sure you’re safely out of the way before performing the test.
While this is a basic test, knowing how to perform it properly helps keep evaluations simple, accurate, and effective. With the right knowledge and tools on your side, you can give your patients the best care possible every time they visit.

Recent Posts
-
What Midwives Should Teach New Parents Regarding Breastmilk
The transition into parenthood presents a profound physiological and emotional shift for growing fam
-
Best Practices for Cleaning and Maintaining Pulse Oximeters
Midwives and medical professionals understand the critical nature of accurate patient data. When mon


