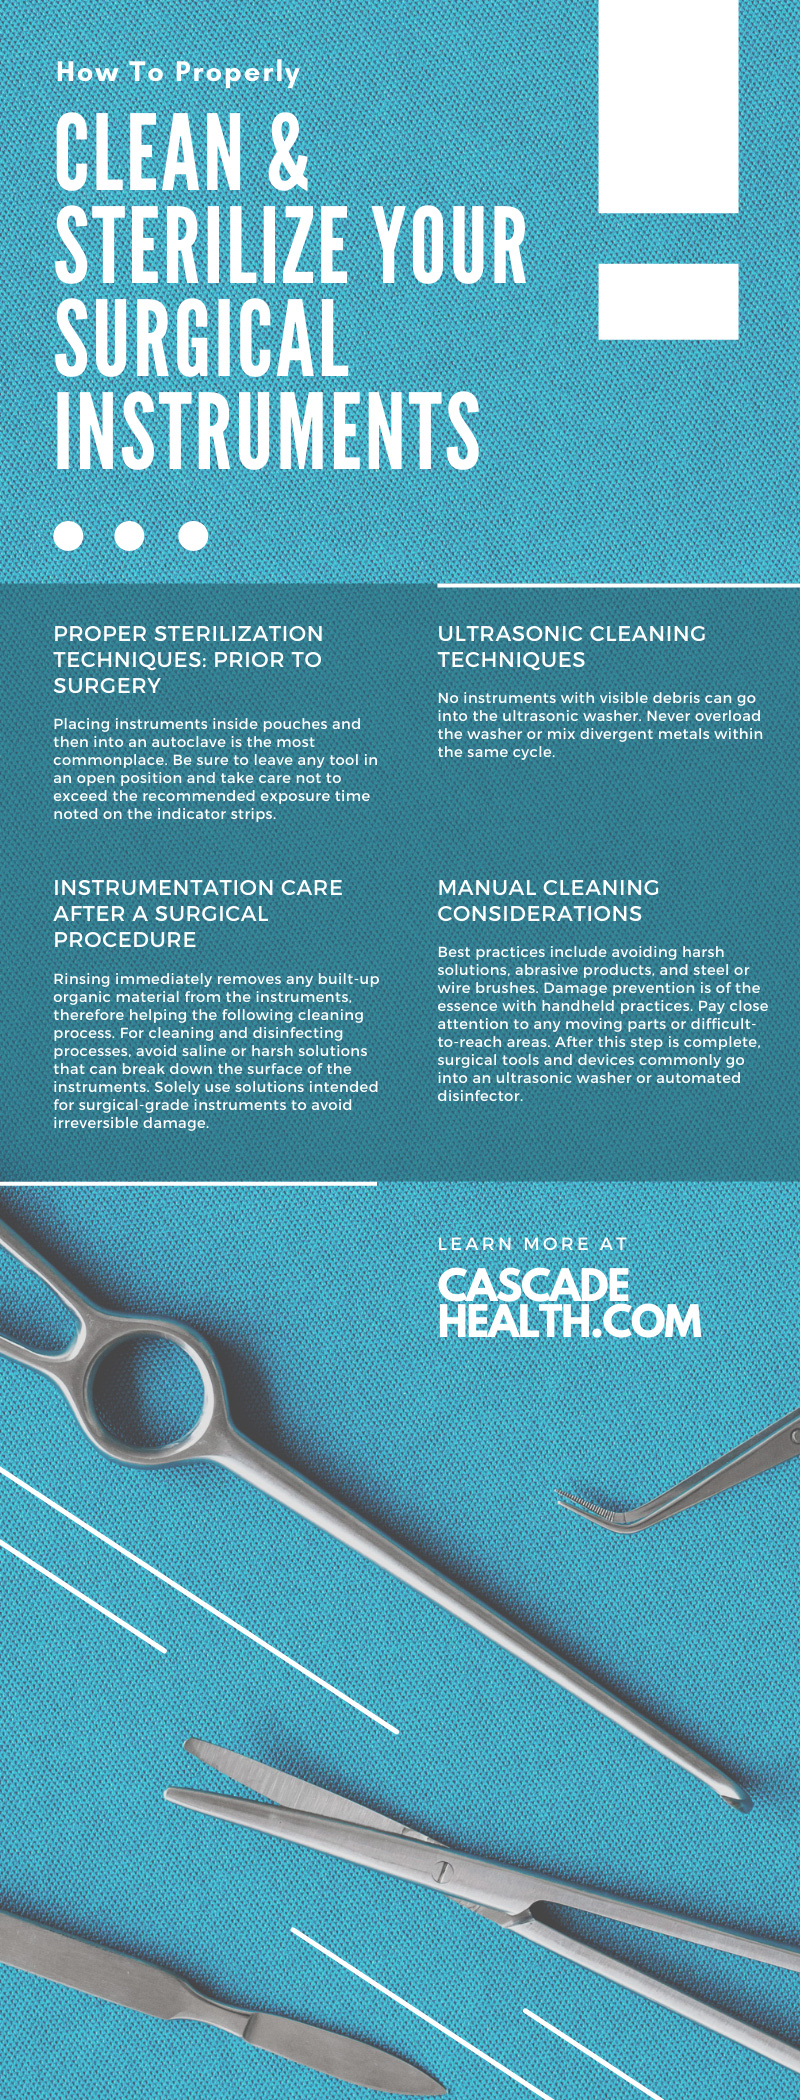
How To Properly Clean & Sterilize Your Surgical Instruments
Medical science is the branch of knowledge concerned with maintaining human health and preventing, diagnosing, and treating diseases. As actor and advocate Michael J. Fox once remarked, this science “has proven time and again that when the resources are provided, great progress in the treatment, cure, and prevention of disease can occur.”
Now, what all encompasses this list of resources? The right research and data? Supplies for health care providers? How about high-grade medical devices and professional products? Surgical instrumentation—and their proper care, handling, and maintenance—are key elements to treat and prevent varying illnesses and diseases. Fully functional, sound, and sterile instruments are essential to patient safety and well-being, both now and in the future.
Paying close attention to surgical instrument cleaning and repair is a high priority for any modern hospital, clinic, or health care facility. Medical professionals perform millions of surgeries each year. Let’s examine closer how to properly clean and sterilize your surgical instruments for well-maintained integrity. We’ve compiled a general guide discussing the following:
- Proper sterilization techniques
- Immediate care after surgery
- Manual cleaning
- Ultrasonic cleaning
- Appropriate lubrication techniques
- Stain troubleshooting and removal
- Protective inspection for quality assurance
Read on for the key steps and considerations to make to keep this instrumentation in top-performing condition for years to come.
Proper Sterilization Techniques: Prior to Surgery
Following multi-step instrument reprocessing protocol is a critical responsibility for technicians in the field. This rigorous reprocessing involves cleaning techniques, disinfecting techniques, and sterilizing techniques. Sterilization is technically the final step before instrument re-use, yet let’s touch on its criticalness first.
Technicians can complete the full sterilization process via several methods. Placing instruments inside pouches and then into an autoclave is the most commonplace. Be sure to leave any tool in an open position and take care not to exceed the recommended exposure time noted on the indicator strips. Placing heavier items near the bottom and more delicate, lighter tools near the top is the best practice for efficiency.
Keep in mind that if sterilization occurs incorrectly, the instruments could leave potential contaminants behind. Ergo, before surgery occurs in an OR, all instruments must be one hundred percent verifiably sterile to prevent infection. The main objective here is to remove any forms of microbial life lingering on the surgical tools or devices before they touch a patient.
Instrumentation Care After a Surgical Procedure
When considering how to properly clean and sterilize your surgical instruments, proper aftercare is next on the list of importance. Surgical instrumentation must be immediately rinsed in warm water after their use during a procedure, even if sterilization might not happen until later on. If this action task fails to occur as soon as possible—within 20 minutes or so—corrosion, pitting, or staining is a probability. Remember, proper instrument processing is a leading line of defense—nobody desires to jeopardize a patient’s recovery with risk of infection.
Immediate Care Steps
Rinsing immediately removes any built-up organic material from the instruments, therefore helping the following cleaning process. Preventing blood, tissue, and other material from drying and caking is key for effective decontamination. Any left-over debris prevents full sterilization and may corrode the metal, a costly error for a facility’s time and money. An effective alternative to quick rinsing is pretreatment with an enzymatic-soak solution, which rapidly assists in the breakdown and removal of compound materials.
For cleaning and disinfecting processes, avoid saline or harsh solutions that can break down the surface of the instruments. Long-term exposure to these chemicals’ properties can lead to corrosion and reduce the lifespan of a tool. Solely use solutions intended for surgical-grade instruments to avoid irreversible damage. Approved products will indicate this on their labels to ensure the best instrument care.
Manual Cleaning Considerations
After a tray of used instruments enters the processing area, tools typically undergo manual cleaning by technicians. Generally, this process entails pre-soak, clean, and rinse phases in a series of bay sinks. Any pre-soak or cleaning phase must utilize an enzymatic detergent or solution that proficiently breaks down and removes left-over surgical soils.
As mentioned above, best practices include avoiding harsh solutions, abrasive products, and steel or wire brushes. Damage prevention is of the essence with handheld practices. Technicians should opt for a softer brush for manual cleanings, such as a stiff plastic or nylon brush. Pay close attention to any moving parts or difficult-to-reach areas. After this step is complete, surgical tools and devices commonly go into an ultrasonic washer or automated disinfector. Keep in mind that the cleaner the tools are as they pass into the washer, the cleaner they will emerge.
Ultrasonic Cleaning Techniques
The most productive cleaning method utilized in the medical field is ultrasonic cleaning. An ultrasonic machine is far more effective than manual cleaning alone. If any surgical instruments skip the complete manual cleaning step during re-processing, they must be hand-washed similarly in a neutral PH soap prior to entering the ultrasonic unit. No instruments with visible debris can go into the ultrasonic washer. Never overload the washer or mix divergent metals within the same cycle.
When a cycle is complete, immediately remove the metal instruments from the washer to rinse once more and thoroughly dry with a towel. No moisture should remain. After this, the device is safe to handle and can move on to the sterilization processing department.
Lubrication Processes: After Cleaning
After the exhaustive cleaning and drying process, all instruments that have metal or moving parts must be lubricated before entering the autoclave for sterilization. Be sure to utilize water-based lubrication intended for surgical instruments and not general industrial lubricants or oils.
Stain Removal: Troubleshooting Tips
Consider the difference between rust versus stains. Corrosion will turn into rust and become irradicable, while stains are removable with the right techniques. The eraser test can tell you if a brown or orange discoloration is removable with powder or solution. Most of these colored stains are not rust, rather caused by high PH surface deposits from improper care and cleaning.
Inspection and Handling: Preventative Quality Assurance
At the end of the day, proper care, cleaning, sanitizing, and handling are fundamental to the long-term maintenance of surgical instruments. The right preventative and inspective measures ensure quality assurance for continual facility use. Following the above measures and manufacturer’s instructions is key to full function and sterilization.
Cascade Health Care carries premier surgical-grade and floor-grade instruments from the trusted-and-true industry leaders of Miltex, Konig, and Vantage. If your facility or organization is in need of new surgical instruments, shop the selection for sale on our site today.
Our specialization in high-quality health care products provides only the best for contemporary medical professionals. You’ll find competitive pricing with us for the required tools of the trade. Superior performance—and a healthy future—awaits.

Recent Posts
-
What Midwives Should Teach New Parents Regarding Breastmilk
The transition into parenthood presents a profound physiological and emotional shift for growing fam
-
Best Practices for Cleaning and Maintaining Pulse Oximeters
Midwives and medical professionals understand the critical nature of accurate patient data. When mon


